How to Migrate a Website

WordPress & Managed Editor
Disclosure: Some links on this page are affiliate links — if you sign up through one, we may earn a commission at no extra cost to you. It never changes our ratings, rankings or verdicts: we don't sell hosting and take no pay-for-placement.
Who it's for
- Website owners switching hosts
- Developers planning a migration
- Agencies migrating client sites
- WordPress site owners
By Elena Novak, WordPress & Managed Editor
What It Means to Migrate a Website
Migrating a website is the process of moving a site’s files, database, and configuration from one hosting environment to another. The goal is to keep the site fully functional throughout, ideally with zero data loss and minimal or no downtime. That’s a bigger job than it sounds. A website isn’t just a folder of files. It’s files, a database, DNS records, email accounts, and SSL certificates. It’s also often server-specific configuration — PHP version, .htaccess rules, cron jobs — that all has to survive the move intact.
Most migrations fail, or cause avoidable downtime, because one of those pieces gets skipped. It’s rarely the whole process that gets botched. This guide walks through a seven-stage process that catches the pieces people forget. That covers the pre-migration checklist, the backup, the transfer itself, the DNS cutover, verification, the rollback plan, and the downtime-avoidance techniques that tie it together.
If you’re moving a WordPress install specifically, the platform adds its own wrinkles. See how to migrate a WordPress site for the plugin-and-database specifics. If you haven’t picked a destination host yet, work through how to choose a host first.
Stage 1: The Pre-Migration Checklist
Before touching a single file, confirm the new environment can actually run the site.
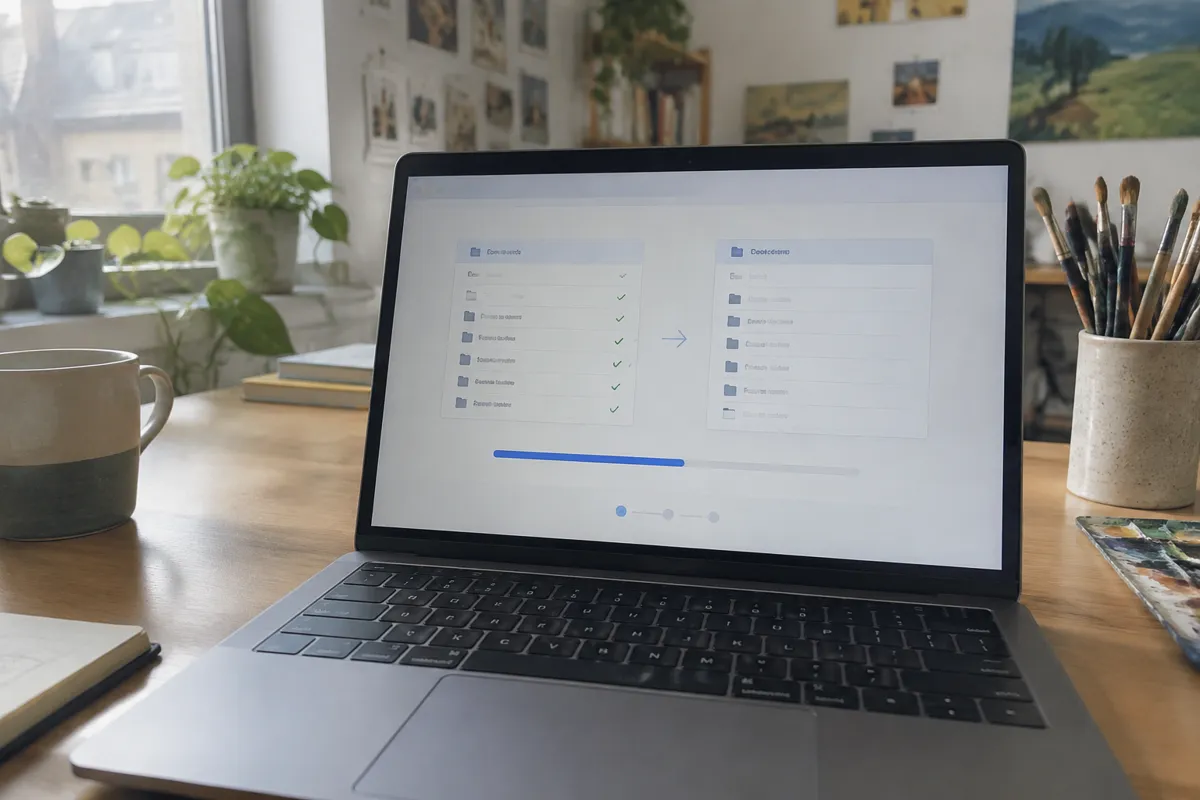
- Match the server stack. Confirm PHP version, database version, and any required extensions on the new host match or exceed what the current site uses.
- Inventory everything that needs to move. Files, database(s), email accounts, SSL certificates, cron jobs, and any custom server configuration.
- Check the domain’s registrar access. You’ll need this for the DNS cutover stage — confirm you can log in and edit records before migration day.
- Set a maintenance window. Even a low-downtime migration benefits from picking a low-traffic time, so schedule it in advance and notify anyone who needs to know.
- Confirm the new host’s resource limits cover the current site’s traffic and storage, not just today’s numbers but headroom for growth.
Skipping this stage is the single most common cause of a migration that “should have worked” but didn’t. A missing PHP extension or a database version mismatch surfaces after the transfer, when it’s far more expensive to fix.
Stage 2: Backup Before You Touch Anything
Take a full backup of the current site before any transfer begins. Back up files and database both, and store them somewhere other than the current host. This backup is your undo button. If anything goes wrong at any later stage, you restore from this point and start again, rather than reconstructing a half-migrated site from memory.
For the mechanics of a proper backup, see how to back up a website. At minimum, confirm the backup file actually opens and contains real data before moving on. A backup you haven’t verified isn’t a backup.
Stage 3: Transfer Files and Database
With a verified backup in hand, transfer the actual content to the new host.
- Upload the files via SFTP, or use a migration plugin/tool if the new host provides one.
- Export the database from the old server (a full SQL dump) and import it into a fresh database on the new host.
- Update any hardcoded references in the database or config files that point to the old server. WordPress migrations in particular need extra care here, since URLs are often stored inside the database itself.
- Recreate email accounts on the new host if email is moving too — see how to migrate email hosting for that as a separate, careful process.
- Reinstall SSL on the new host, either via the new provider’s free certificate tooling or by transferring an existing certificate if it’s still valid.

At the end of this stage, the site should be fully functional on the new host’s temporary URL or IP address — just not yet receiving live traffic.
Stage 4: Verify Before Cutover
This is the stage people skip under time pressure, and it’s the one that prevents the worst outcomes. Before changing any DNS record, load the site on the new host directly, via a hosts-file edit or the host’s temporary URL, and check:
- Every page type loads correctly — home, inner pages, forms, any dynamic functionality
- The database is populated and current
- Email sending/receiving works if it moved
- SSL is active and valid
- Site speed is comparable to or better than before
Only once this passes does the site move to DNS cutover.
Stage 5: DNS Cutover
Update the domain’s DNS records — typically the A record, sometimes nameservers — to point to the new host. This is also where downtime risk concentrates, because DNS propagation isn’t instant. Different visitors will hit the old and new server for a period after the change, depending on their resolver’s cache.
Lower the DNS TTL (time-to-live) 24–48 hours before cutover if possible. This shortens the propagation window on the day itself. For a full walkthrough of the DNS side specifically, see point a domain to hosting.
Stage 6: Post-Cutover Verification
Once DNS has propagated, re-run the same checks from Stage 4 on the live domain this time, from multiple locations and networks if possible. Confirm forms submit correctly and email flows both ways. Check that no broken links or missing assets slipped through in the transfer. Check server logs on the new host for 404s or errors that wouldn’t show up in a casual click-through.

Stage 7: Rollback Plan and Downtime Avoidance
A rollback plan means knowing, before migration day, exactly how to reverse the DNS change and restore service on the old host if something breaks post-cutover. Keep the old hosting account active and untouched for at least a week after migration. Don’t cancel it the moment the new site looks fine. That overlap window is what turns a migration mistake into a quick DNS revert instead of a scramble.
Downtime avoidance comes down to sequencing. Never point DNS at a destination you haven’t verified. Always keep the source live until the destination is proven, and always lower TTL in advance. Done this way, most migrations produce no visible downtime at all. For a true zero-downtime approach on high-traffic or business-critical sites, see zero-downtime website migration.
If you’re changing providers entirely rather than just moving a site, how to switch web hosts covers the provider-side decisions that sit alongside this technical process — cancellation timing, data-export formats, and what to ask the new host. Our website migration checklist condenses all seven stages into a printable reference for migration day itself.
How to Migrate a Website FAQ
How long does a website migration take? A small site with a straightforward stack can migrate in a few hours. Larger sites with complex databases, multiple email accounts, or custom server configuration can take a full day or more. DNS propagation adds up to 48 hours of tail time on top of that.
Will I lose SEO ranking during a migration? Not if the migration preserves URLs, content, and site speed. Ranking risk comes from broken links, changed URLs without redirects, or a slower new host, not from the migration itself.
Do I need to migrate email hosting at the same time as the website? Not necessarily. Email and website hosting can live on different providers and move on different timelines. See how to migrate email hosting for handling that separately.
What’s the biggest mistake in a DIY migration? Pointing DNS at the new host before fully verifying it works. That single sequencing error causes most of the visible downtime and broken-site incidents people report.
Can I migrate a website without any downtime at all? Yes, with the right sequencing and by keeping the old host live during propagation. See zero-downtime website migration for the specific technique.