How to Use cPanel

WordPress & Managed Editor
Disclosure: Some links on this page are affiliate links — if you sign up through one, we may earn a commission at no extra cost to you. It never changes our ratings, rankings or verdicts: we don't sell hosting and take no pay-for-placement.
Who it's for
- First-time hosting account owners
- Small business owners
- Anyone new to shared or managed hosting
What cPanel Is
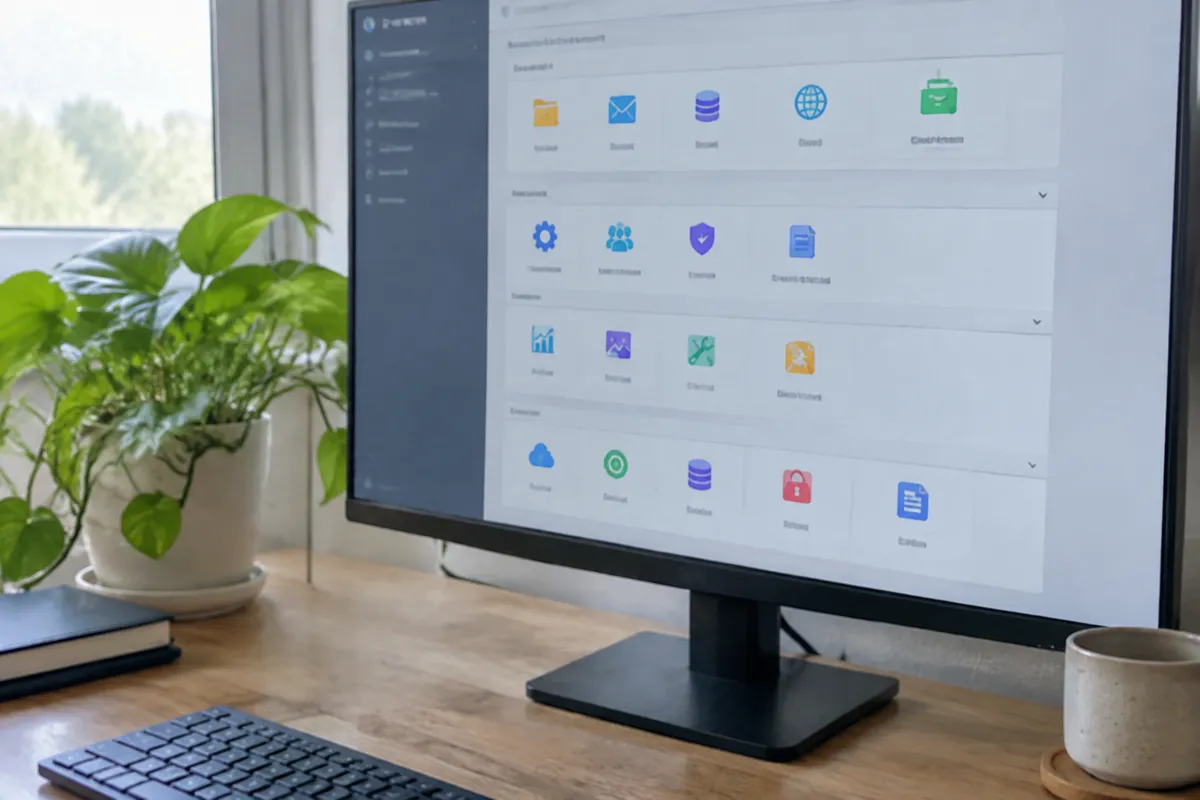
cPanel is a web-based control panel used by most shared hosting providers and many managed hosting providers. It gives you a point-and-click way to manage a server account without touching the command line. You’ll see a grid of icons grouped by function: Files, Databases, Domains, Email, Security, and Software. Nearly every other setup task on this site, from installing WordPress to creating an FTP account, starts from one of those icons.
The honest first impression is that it looks overwhelming. A typical cPanel home screen carries dozens of icons, and most of them are things a beginner will never open. You can safely ignore the majority. A small handful of sections covers almost everything you’ll do in your first year, and this guide walks through those in the order you’re likely to need them. Think of cPanel as a toolbox where you only reach for four or five tools regularly.
Prerequisites Before Using cPanel
- An active hosting account on a plan that includes cPanel. Most shared plans do, and so do some managed plans. Some managed WordPress, VPS, and cloud plans use a custom dashboard instead, in which case the tasks below still exist but the icons are named differently.
- Your login details. These are usually emailed after signup, or reachable through a “Login to cPanel” or “Manage” button inside the host’s own account dashboard. That button is often the easiest route, because it signs you in without a separate password.
One distinction trips up many beginners. You have two logins: one for your account with the hosting company (billing, renewals, support tickets) and one for cPanel (the server itself). They are often different usernames and passwords. If you can pay an invoice but can’t find your files, you’re in the wrong place.
How to Use cPanel: Step-by-Step
Log In and Check the Files Section
- Log in to cPanel, either through the direct URL (often
yourdomain.com/cpanel, or the server’s address followed by port 2083) or through a link in the host’s main dashboard. If your domain doesn’t point at the host yet, the direct domain URL won’t work, so use the dashboard button or the server address from your welcome email. - Look at the account summary first. The right-hand sidebar normally shows your primary domain, disk usage, and the PHP and server details. Glance at it to confirm you’re in the right account.
- Open the Files section. File Manager lets you browse, upload, edit, and delete files in the browser. It’s the quickest way to fix a single broken file, and it’s also where you’ll find
public_html, the folder your main domain serves. FTP Accounts is where you set up dedicated FTP or SFTP access for bigger transfers. Also look here for Backup and Backup Wizard, which is worth knowing about before you ever need it. - Use the Domains section to add addon domains, create subdomains, and set up redirects. Each addon domain gets its own folder, so keep the names tidy from the start.
Create Databases, Email Accounts, and Install SSL
- Open the Databases section for MySQL Databases or MySQL Database Wizard. WordPress and most other content management systems need a database, a database user, and a password, and the wizard walks you through all three. Write the three values down as you create them, because the installer will ask for them and cPanel won’t show the password again.
- Open the Email section to create email accounts, set up forwarders, and adjust spam filtering. The Email Deliverability tool is the place to check that your domain’s sending records are healthy.
- Open the Security section to install an SSL certificate, block IP addresses, and turn on two-factor authentication for the cPanel login itself. Switching on two-factor is a five-minute job that protects the keys to your whole site, so do it early.
- Open the Software section for one-click installers and the PHP version selector. Choosing a current, supported PHP version here fixes a surprising number of plugin problems, but change it on a site you can test first, since an old plugin may break on a newer version.
What to Learn First and What to Leave Alone
If you only have an hour, learn these in order: File Manager, the domain you’re using, SSL status, email accounts, and backups. Those five cover the tasks that actually cause pain when they go wrong.

Several sections are worth leaving alone until you know why you need them. Changing the DNS zone editor without a plan is the classic example, because a wrong record can silently break your email or take the site offline. The same goes for Cron Jobs, Apache handlers, and anything labelled Terminal or SSH unless you’re following specific instructions. Nothing in cPanel is hard to reach, but a few things are easy to break. When in doubt, make a backup first.
Verifying cPanel Access Is Working Correctly
After logging in, confirm the correct domain appears in the account summary. This matters most on reseller or multi-domain accounts, where it’s possible to sit inside the wrong account. Check that the disk and bandwidth figures load rather than showing an error.
Then run a two-minute sanity check. Open File Manager and confirm you can see public_html. Open Email Accounts and confirm the page loads. Visit your domain in a browser and check for a padlock. If a section like Email, Databases, or Domains fails to load or returns a permissions error, it usually points to an account-level restriction rather than a problem with your login, and it’s worth raising with the host’s support.

Common Errors When Using cPanel
- “cPanel is not accessible” or a blank login page. The login URL may be wrong for that host, the domain may not point at the server yet, or the account may use a different panel entirely (Plesk, or a custom dashboard). Check the welcome email for the exact link.
- Changes made in cPanel don’t appear on the live site. A caching layer, either at the host or in a plugin, may need clearing. Test in a private browser window first, since your own browser often holds a stale copy.
- File Manager shows “permission denied.” File or folder permissions were set too restrictively, usually after a manual upload. Fix them through File Manager’s Permissions option (644 for files, 755 for directories). Never set a folder to 777 to make an error go away, since that opens it to every other process on a shared server.
- One-click installer fails partway through. This is usually a temporary database connection issue, and retrying after a few minutes typically resolves it. If it keeps failing, check that the target folder is empty, because an installer won’t overwrite existing files.
- Deleted something and want it back. File Manager has a Trash, but it isn’t a safety net for everything. A database deleted from the MySQL Databases page is gone unless you have a backup, so download a fresh copy before you start cleaning up.
cPanel vs Other Control Panels
cPanel is the most widely used panel among shared hosting providers, but it isn’t universal. Plesk is a common alternative, particularly on Windows-based hosting, and some managed hosting and cloud providers build a custom dashboard instead of licensing either.
There are real trade-offs. cPanel’s strength is familiarity: the same layout follows you between hosts, and almost every tutorial online assumes it. Its weakness is clutter, plus the fact that some hosts theme it or hide features behind their own branding. Custom dashboards are often cleaner and faster for common jobs, such as creating a WordPress site or a staging copy, but you lose the wider set of tools and the skills don’t transfer if you move host. Neither is better in the abstract. The underlying tasks (files, databases, email, domains, SSL) are the same either way, and only the layout and icon names change. If you’re still deciding, read hosting control panels for a fuller comparison, particularly if best hosting for beginners is still an open question.
FAQ
Is cPanel free? Not for the hosting provider. cPanel is a paid license the host pays for and typically bundles into the plan price at no extra cost to the account owner. Be aware that license costs have risen in recent years, which is one reason some hosts move to their own dashboards.
Can I use cPanel on a VPS or dedicated server? Yes, cPanel can be installed on unmanaged VPS and dedicated servers, though it usually requires a separate license purchase and manual installation rather than coming pre-installed.
What’s the difference between cPanel and WHM? cPanel is the account-level interface an individual site owner uses. WHM (Web Host Manager) is the server-level admin interface hosting companies and resellers use to manage multiple cPanel accounts at once.
Do I need to use cPanel to manage my site day-to-day? Not necessarily. Once WordPress or another CMS is installed, most content and settings changes happen inside that platform’s own admin, and cPanel is only needed for account-level tasks like email, backups, or SSL.
Is it safe to click around and explore? Mostly, yes. Looking is harmless. The risky actions are deletions, DNS edits, and changing the PHP version or file permissions on a live site, so make a backup before any of those.